Today I am doing another tutorial, and this one is how to make four different types of bookmarks to keep your page in books! This is also a DIY post at the same time as being a tutorial, and I hope it will be helpful if you have run out of bookmarks! Also, these are made from materials that you will have just lying about in your home that may be unused. So, let's go on three different types of bookmarks!

After you have done that, you need to draw a face on it! Use googly eyes, metallic pens or even if you only have a white envelope you could colour it in!

 Here is my finished product. Of course, you can stick on stickers and use better pens than I did. This is just an example.
1. The Corner Holder
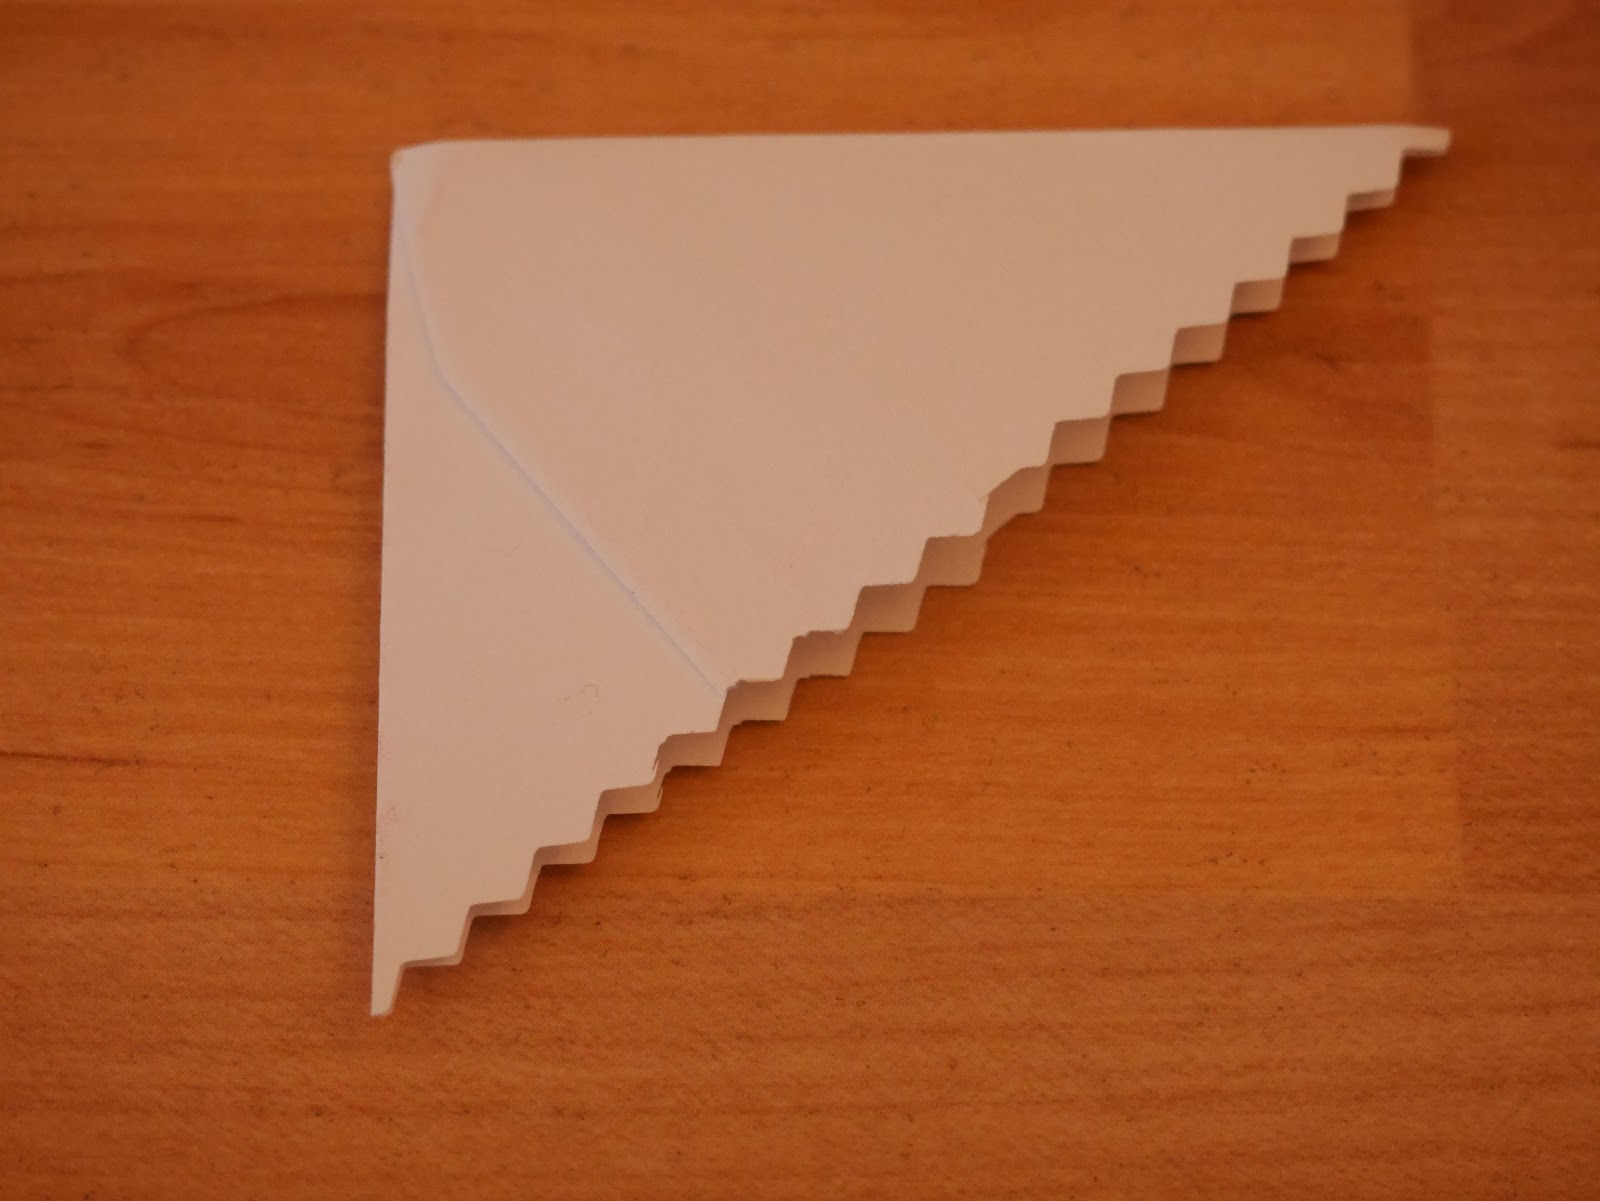
This first one is an easy one. I've seen this everywhere, magazines, websites and videos. This one is fun, because you can add eyes and teeth at the end to make it look like a monster. OK, so here's how to do it: First, get an envelope. Secondly, cut off one of the corners to make a right angle shape. I cut mine with zigzag scissors so that it made a pattern on the edge. I did a white envelope, but if you can find a red or blue or any other colour that would look even better. Here is what mine looked like:

 Here is my finished product. Of course, you can stick on stickers and use better pens than I did. This is just an example.
2. The Lolly Stick
This one is really, really, really easy. I have done this one, but I haven't seen it elsewhere. All you need is a lolly stick, stickers, ribbons, glue and pens. First, get your lolly stick. Colour it in with your pens, and stick a ribbon on the end with the glue (preferably PVA). The ribbon sticks out of the book to mark your place. Then stick loads of stickers on the lolly stick and the ribbon, and you have a beautiful bookmark! (Sorry for no photos, I don't really eat ice creams with sticks, but you will probably have them).
3. Simple Rectangle
OK, this one is the simplest of the lot. The classic rectangular bookmark. It has been around for decades. All you need to do is get some card, it doesn't matter what thickness, and cut out a rectangle. You can cut it any size, and if you want to be extra precise, then measure it with a ruler. Simple as that! Now, you can decorate it with stickers! More stickers! Here is what mine looks like:
 I stamped a star shape at the top and put glitter around it (you can't see it on camera). I also stuck a sticker of a lion on it, and put some purple floral washi tape by the side. On the bottom (it is hard to see) I cut some slits to make it like a classic bookmark. I have no idea why they have them, I just fancied doing it to make my bookmark look as nice as possible.
 I stamped a star shape at the top and put glitter around it (you can't see it on camera). I also stuck a sticker of a lion on it, and put some purple floral washi tape by the side. On the bottom (it is hard to see) I cut some slits to make it like a classic bookmark. I have no idea why they have them, I just fancied doing it to make my bookmark look as nice as possible.
4. The Stickman Arm Folder
This one is the hardest, but is still straightforward. First, you need to sketch a person, and cut it out, like this:

 Make sure you cut the slits in between the arms and legs, so that you can slide the arms over the page you are on. OK, now you need to decorate! Here is what I did to mine (an office worker):

 Make sure you cut the slits in between the arms and legs, so that you can slide the arms over the page you are on. OK, now you need to decorate! Here is what I did to mine (an office worker):
Now you can slide the arms over your page!
So that was my post! I hope you liked it, and see you next time on my book blog! :-)
Comments
Post a Comment